Crafting footwear that truly reflects who you are has never been more accessible or rewarding. Whether you are drawn to bold artistic statements or subtle touches that speak volumes, the journey of designing and making your own shoes offers a creative outlet unlike any other. This process transforms ordinary trainers into wearable art, allowing you to experiment with colours, textures, and patterns that resonate with your personal taste. By taking control of every element, from the initial concept to the final protective layer, you gain not only a unique pair of shoes but also a deeper appreciation for the craftsmanship involved in footwear design.
Getting started with your custom footwear design
Embarking on this creative adventure begins with careful planning and selecting the right foundation for your project. The excitement of transforming a blank canvas into something extraordinary is palpable, yet the success of your endeavour hinges on making informed choices early on. Understanding which materials suit your vision and gathering the necessary tools will set the stage for a smooth and enjoyable experience. This initial phase is crucial, as it lays the groundwork for everything that follows, ensuring that your final product not only looks stunning but also stands the test of time.
Choosing the right base shoe style for your project
Selecting the appropriate shoe to serve as your starting point is a decision that influences the entire process. Popular choices such as Air Force 1s and Converse are favoured by many enthusiasts due to their versatile surfaces and timeless appeal. Canvas shoes, in particular, provide an excellent foundation for paint application, as their texture readily accepts colour and allows for intricate detailing. On the other hand, leather options offer durability and a premium finish, making them ideal for projects where longevity and a polished aesthetic are priorities. When choosing your base shoe, consider the final look you wish to achieve and the techniques you plan to employ. A smooth, flat surface may be preferable for detailed artwork, while a textured material might lend itself better to bold, abstract designs. Additionally, think about the comfort and fit of the shoe, as a well-fitting pair will not only be more enjoyable to wear but also easier to work with during the customisation process. The right choice here sets the tone for your entire project, so take your time to find a style that aligns with both your creative vision and practical needs.
Gathering essential materials and tools needed
Once you have your base shoe, the next step involves assembling a collection of materials and tools that will bring your design to life. Acrylic paints are a popular choice for shoe customisation, offering vibrant colours and a finish that adheres well to various surfaces. Alongside paints, you will need acetone or a leather deglazer to clean the shoes thoroughly before you begin, ensuring that any factory finishes or oils are removed for optimal paint adhesion. Fine sandpaper, often in the four hundred grit range, is essential for roughening the surface, creating a texture that helps the paint grip more effectively. Protective tape will allow you to mask off areas you wish to keep untouched, ensuring clean lines and precise application. Brushes of various sizes, from fine-tipped options for intricate details to broader brushes for base coats, are indispensable in achieving different effects and levels of precision. In addition to these basics, consider investing in a quality sealant or top coat finisher to protect your completed design from the elements and everyday wear. A matte or glossy finish can dramatically alter the final appearance, so choose one that complements your artistic vision. Other useful items include stencils for creating consistent patterns, markers for outlining or adding fine details, and a cutting mat to protect your work surface. If you are venturing into more advanced techniques, materials such as fabric dyes, sustainable or eco-friendly options, and even replacement soles made from durable compounds can elevate your project. By gathering these materials and tools in advance, you ensure a seamless workflow and reduce the likelihood of interruptions that could disrupt your creative momentum. This preparation phase is not merely about logistics; it is about setting yourself up for success and giving yourself the freedom to experiment without constraint.
Bringing your personalised shoe vision to life
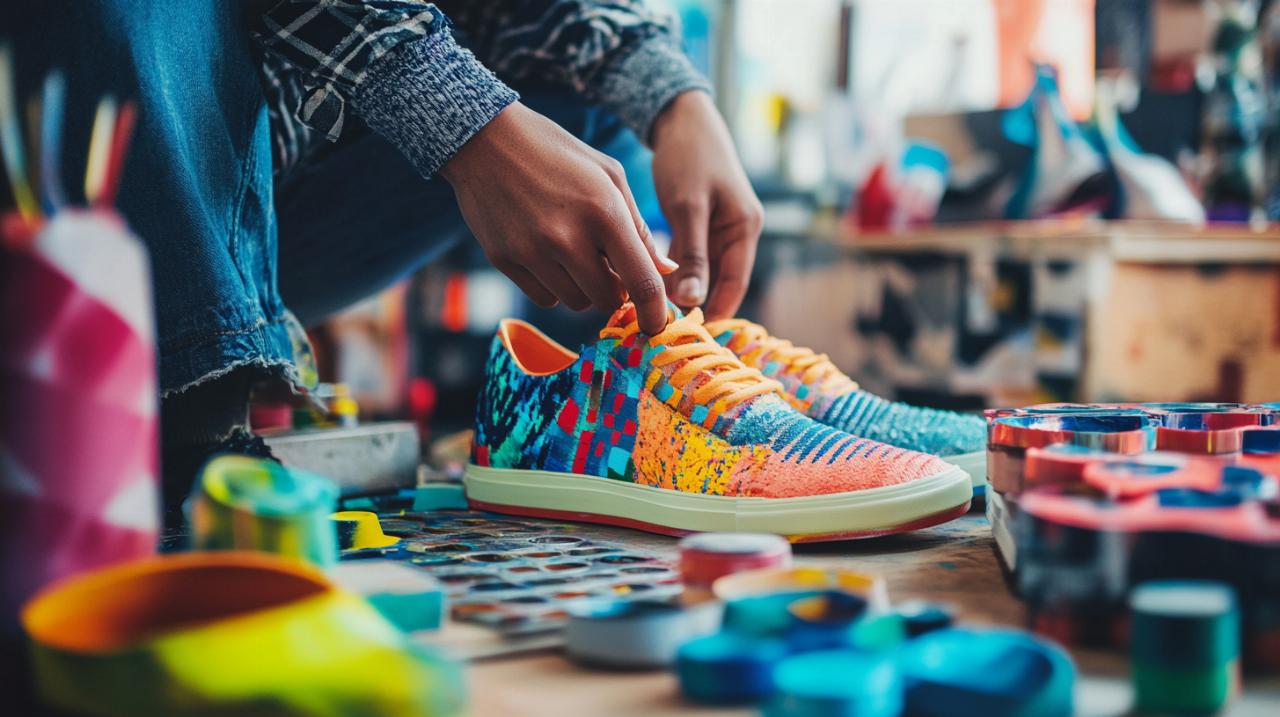
With your materials assembled and your base shoe prepared, the real magic begins as you start to apply your creative ideas. This stage is where your vision transforms from concept to reality, and each brushstroke brings you closer to a finished piece that is uniquely yours. The application process requires patience and attention to detail, as layering colours and allowing adequate drying time are essential for achieving a professional finish. Beyond the technical aspects, this is also a moment to express your individuality, whether through imagery inspired by pop culture, nature, or abstract art. The act of painting and decorating your shoes is as much about personal expression as it is about craftsmanship, and embracing this duality will yield results that are both visually striking and deeply meaningful.
Applying your chosen colours and patterns effectively
Before you dive into the painting process, it is imperative to prep your shoes meticulously. Begin by cleaning the surface with acetone, which strips away any residual coatings or oils that might interfere with paint adhesion. Once clean, use fine sandpaper to lightly roughen the material, creating a texture that allows the paint to bond more securely. This step is often overlooked, yet it is fundamental to ensuring that your design remains vibrant and intact over time. After sanding, wipe away any dust and apply protective tape to areas you wish to preserve, such as the sole or any branding details. When you are ready to paint, start with a base coat, applying thin layers rather than attempting to achieve full coverage in a single application. Thin layers dry more evenly and reduce the risk of cracking or peeling, which can occur when paint is applied too thickly. Allow each layer to dry completely before adding the next, a process that may take several hours depending on the paint and environmental conditions. As you build up colour, you can introduce additional hues and begin to layer patterns or intricate designs. Stencils can be particularly useful here, helping you maintain consistency and precision, especially if your design includes geometric shapes or repeated motifs. For those who prefer a freehand approach, fine-tipped brushes and markers offer the control needed to create detailed artwork. Do not rush this phase; patience is your ally, and taking the time to let each layer cure properly will result in a finish that looks polished and professional. Remember, the goal is not just to cover the shoe but to transform it into a piece of wearable art that reflects your personal style and creativity. If you follow the steps outlined in any create your own personalized shoes tutorial, you will find that the process becomes more intuitive with practice, allowing you to experiment and refine your technique with each project.
Adding finishing touches and protective sealants
Once your design is complete and fully dry, the final step involves sealing your work to protect it from the rigours of daily wear. A high-quality sealant or top coat finisher acts as a barrier against moisture, dirt, and abrasion, preserving the vibrancy of your colours and the integrity of your design. The choice between a matte and glossy finish can significantly impact the overall aesthetic, so consider which option best complements your artwork. A glossy finish tends to enhance colours and add a sleek, polished look, while a matte finish offers a more understated, sophisticated appearance. Applying the sealant requires the same care and attention as the painting process itself. Use a clean brush to apply thin, even coats, ensuring complete coverage without allowing the product to pool or drip. Multiple layers are often necessary, with adequate drying time between each application, to build up a durable protective barrier. Beyond sealing, consider adding any final decorative elements, such as custom laces or metal eyelets, which can further personalise your shoes and tie the entire design together. These small details, though seemingly minor, can elevate your project from a simple customisation to a true masterpiece. Once everything is in place and the sealant has fully cured, your shoes are ready to wear. However, the work does not end here. Proper care and maintenance are essential to keeping your custom footwear looking its best. Avoid exposing your shoes to extreme weather conditions, and if they do get wet, allow them to dry naturally away from direct heat sources. Clean them gently with a soft cloth and mild soap, steering clear of harsh chemicals or washing machines that could damage the paint and sealant. Store your shoes in a cool, dry place, ideally in a breathable bag or box, to prevent dust accumulation and maintain their appearance over time. By taking these precautions, you ensure that your hard work and creativity are preserved, allowing you to enjoy your unique, personalised footwear for years to come. The satisfaction of wearing something you have crafted yourself, combined with the compliments and admiration from others, makes the entire process worthwhile and may even inspire you to embark on further creative projects.